


Tips and Tricks for Staining timber floors
Tips and Tricks for staining timber floors.
Puttying
- All puttying should be completed prior to sanding. If the floors are very rough and uneven, an initial rough sand can take place prior to puttying. Livos recommends Timber mate putty (available in various colours at most hardware stores)
- If using epoxy putty or resins, especially to fill large holes, the surface should be slightly roughened to match the surface of the timber. (Otherwise it will show up as shinny spots on a satin finish). A suggestion would be to use black (ebony) putty in gum veins or natural imperfections to highlight these “natural” imperfections. For man made holes such as nail holes use a colour as close as possible to the timber. When using a stain the putty will absorb the colour of the stain.
Sanding
- Ensure that the sanding is completed to a fine grit, generally 120 grit and no scratch marks are left. Pigments settle into the scratches left behind and highlight these imperfections. The finer the sanding, the less pigment that will be absorbed.
- Vacuum the surface to open up the pores, this ensures better penetration.
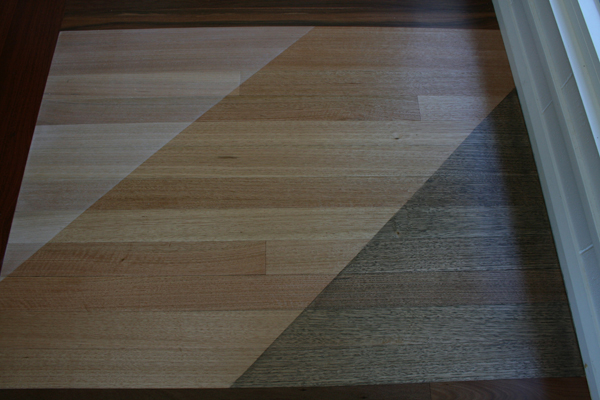
- If not sure about the best color, all oils and stains are available in sample pot sizes. Remember though, if you are making a sample, sand to the same grit that the floor will be sanded to.
- Also, some timbers vary greatly in colour so do samples on a light and dark section to make sure it is what you anticipate.
Oiling using the non toxic wood stains
- Unlike a varnish, you may walk over the oiled surface to wipe off the excess oil. Remember to walk out of the room wiping the footprints as you go. The surface should not be left wet otherwise it will not dry and will become sticky.
- Remember not all timbers take well to staining. E.g. staining jarrah (red) with a white stain will result in a cloudy look. The lighter the timber the better it is able to take in a stain.
- If you are not used to working with the oil, apply oil to a small area e.g. 20 sq mt, leave it on for 20 minutes (depending on the weather) then wipe off the excess. If hot, humid or in full sun it may become tacky quickly so times may need to be adjusted.
- It is advantageous to use a machine such as a Canterbury or Poly Vac if doing large areas. It is easier on the knees plus results in a more even finish.
- There is no “cutting back” required as the oils will not cause the fibres to stick up. However, if you go over the area with a white pad (non abrasive) prior to applying the second and third coat, a more resistant surface is achieved. The white pad flattens the wax crystals giving the impression of more shine.
- On days of high humidity, please leave an extra day in-between coats. It would also be advantageous to leave an extra day (that is 2 days) prior to you or clients moving in. Light and ventilation is very important.
- A wide paint brush around the skirting boards and a roller or preferably a lambs wool applicator may be used to apply the oil.
- Do not apply coats on the same day. Light and ventilation is important in the curing process.
Cleaning
- Many new micro-fibre cloths may strip the oil wax layer and make the surface “dry” looking. Best to use cotton mop or very old micro fibre (not as aggressive).
- Important. Do not wash the floor in the early period (at least 4-6 weeks, the longer the better) and after that use the Trena Ph neutral cleaner. This is a mild and effective concentrate. It may also be used on other surfaces as well.
- Please note the “how to oil” and “care and maintenance” docs are available on www.livos.com.au under Tips and Tricks.